
My amazing mother made this diaper bag (above). I did help pick out the pattern, the fabric, and such but she sewed everything together and did all the nice quilting on it:) It's alot bigger than I was expecting, but I'm sure I'll find ways to fill it up!

I don't have a picture of it all filled up sorry.

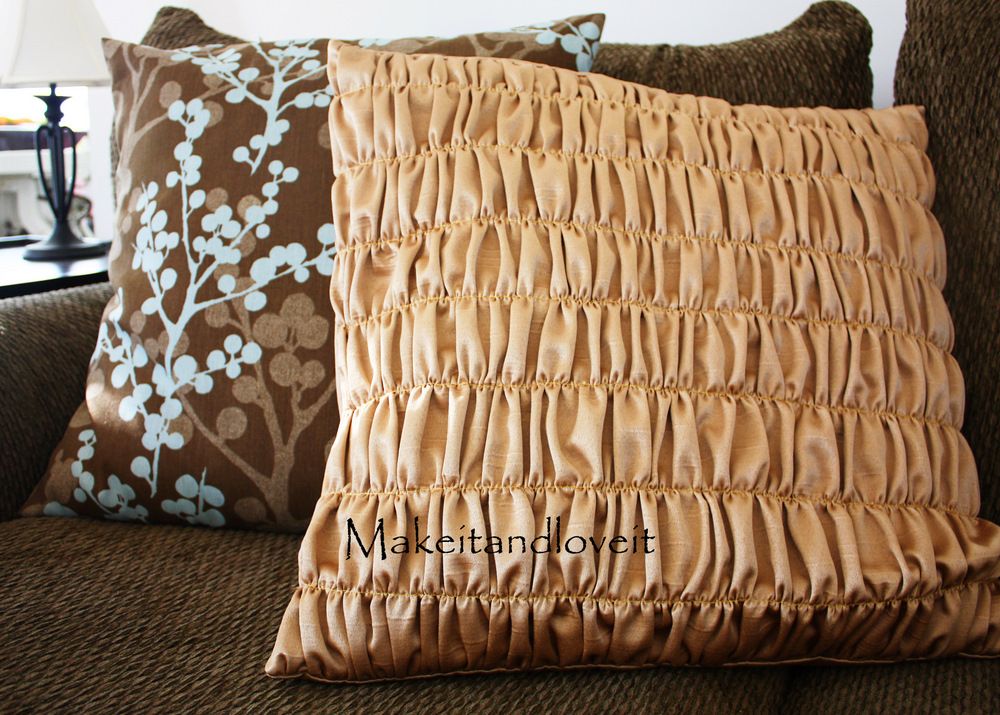
Pillow to match the Quilt:)


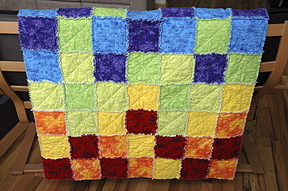
The amazingly adorable quilt mom made for Alli!:) Matches the Car seat cover too!

AFTER:)

Before (see previous blog post about this one)


Boppy Cover:) I'm very proud of this!!!

My 1st afghan :) Pretty proud of this. I of course ran into some "oopies" and "redos" of course, but it turned out great in the end:)

the view of the car seat cover when folded up. I didn't do a fancy backing or anything and sense I don't have a big ironing board I skipped the whole ironing everything part!

So for the size of this project it really should have gone this way (below). But I put the ribbons on the wrong way so oh well:) I like the stripes going the other way anyhow.

Car Seat Cover:) I'm so proud!

awwwwww
(see it bunches a little more because it's slightly longer one way than the other, but it works out just fine. Plus it's kind of nice having it longer)

Mom made this while I was running around like a chicken with my head cut off. She did a very nice job! I'm sure it would have been a very easy project:)

I made this as a cell phone holder for my diaper bag. But it's kind of ended up as my camera holder. This project I also "messed up" on a little.

Note how one side is pink flannel and the other the polka dots. Well, the flannel was supposed to be on the inside and the polka dot fabric on both sides anyway...it looks cool and it still has a lining so that's all that matters:)

I think I did the lining a bit wrong on this one but I'm not entirely sure...anyhow, I had to kind of piece this one together to make the fabric long enough so that's why there's wavy stitching on the outside (to keep the seams in place). I think it turned out alright:)

By the way it's a Diaper holder. I'm going to put a small thing of wipes in there too sense it's big enough.

So it seems like I can't do a project without messing up at least once or twice or redoing something. I'm no pro that's for sure! That's why I choose awesome projects. Then I know I will finish them because I want to make them so badly! I'm still learning...


.JPG)
.JPG)


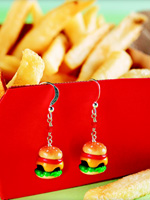


 Lip Balms
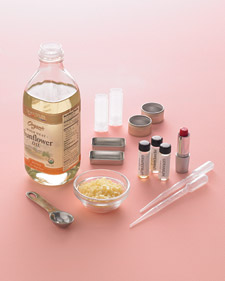


